外部h5页面跳转微信小程序
h5页面通过微信提供的云开发-云函数功能进行直接跳转到微信指定小程序内部页面(h5界面可以是内嵌在某app内部,或者单页面都可跳转)
小程序端
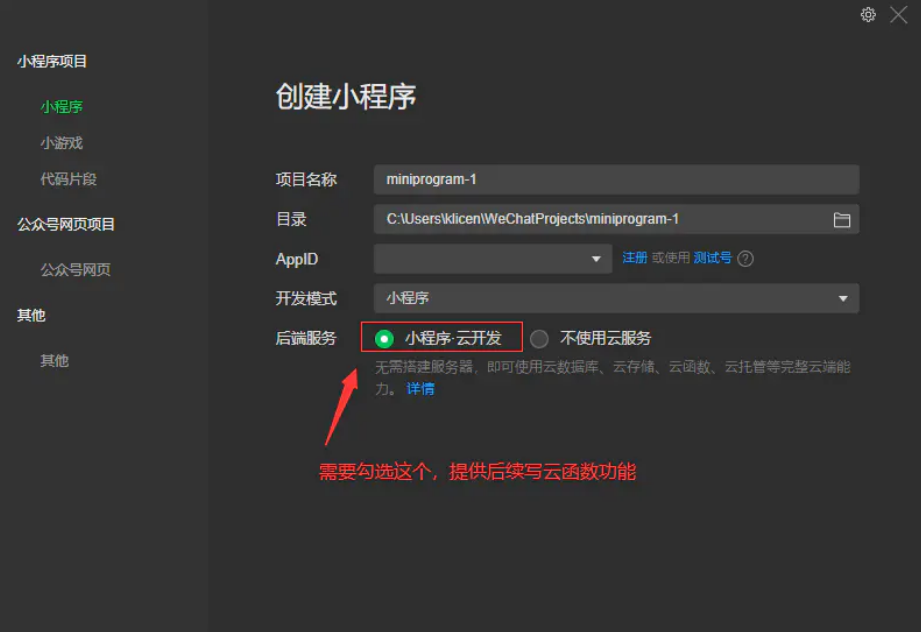
1、 新建的小程序项目需勾选‘云开发’选项
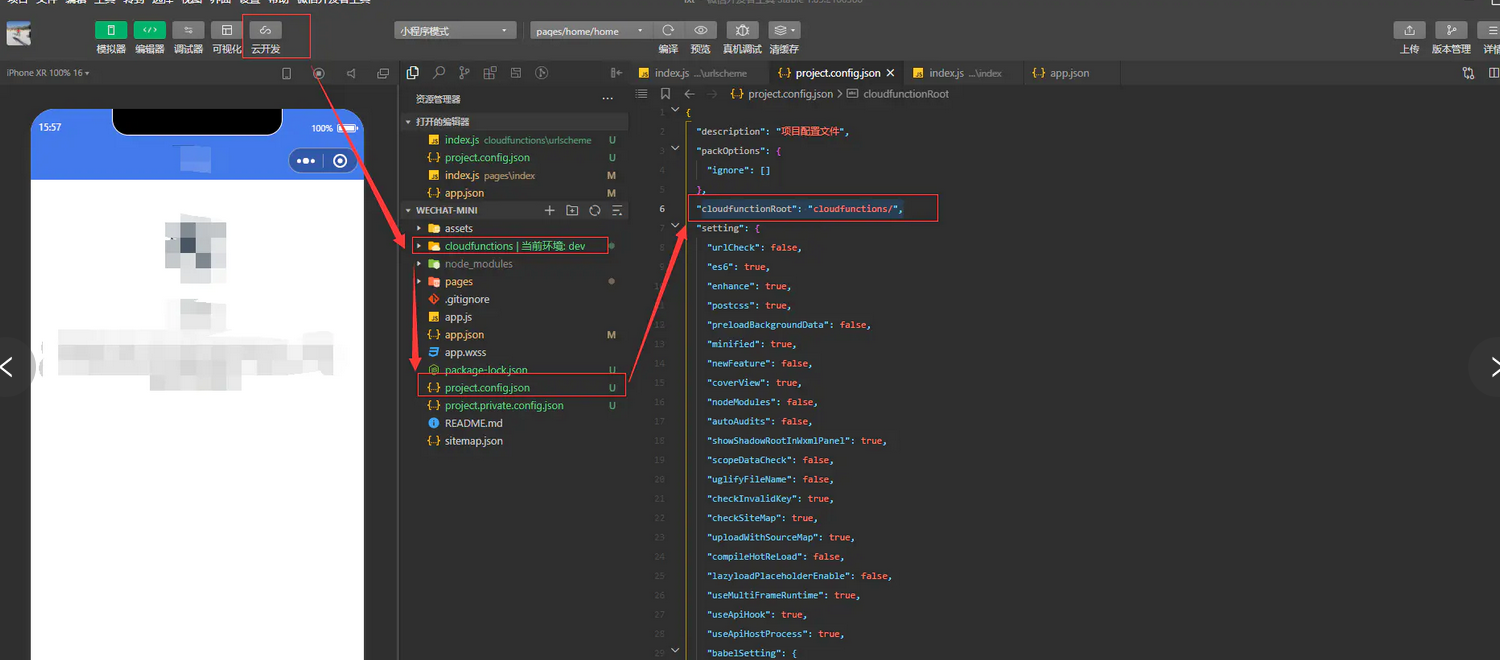
2、新建项目后进入微信开发者工具,云环境及云函数文件夹如图:
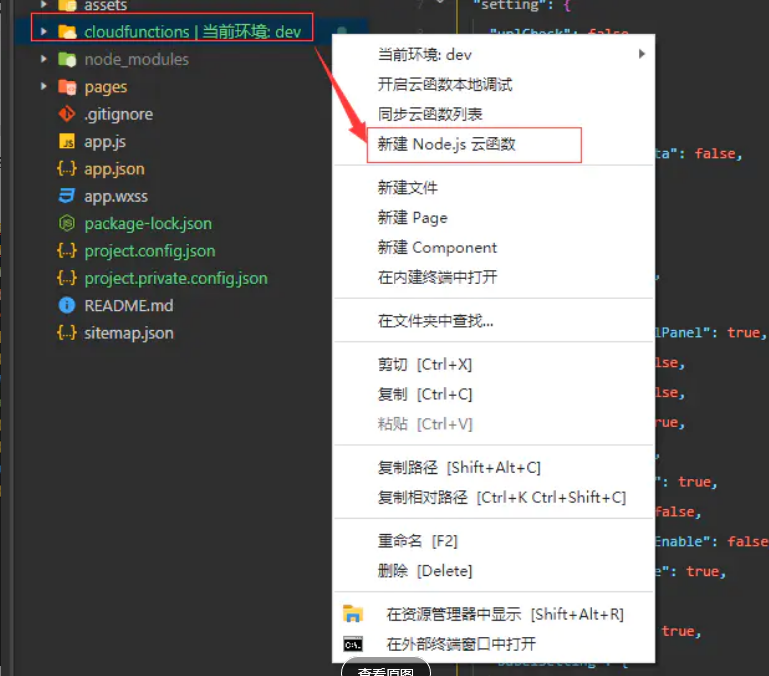
3、鼠标移到cloudfunctions文件夹右键新建云函数,名称就是你自定义函数名,这里以urlscheme为例:
4、生成后文件目录如下:
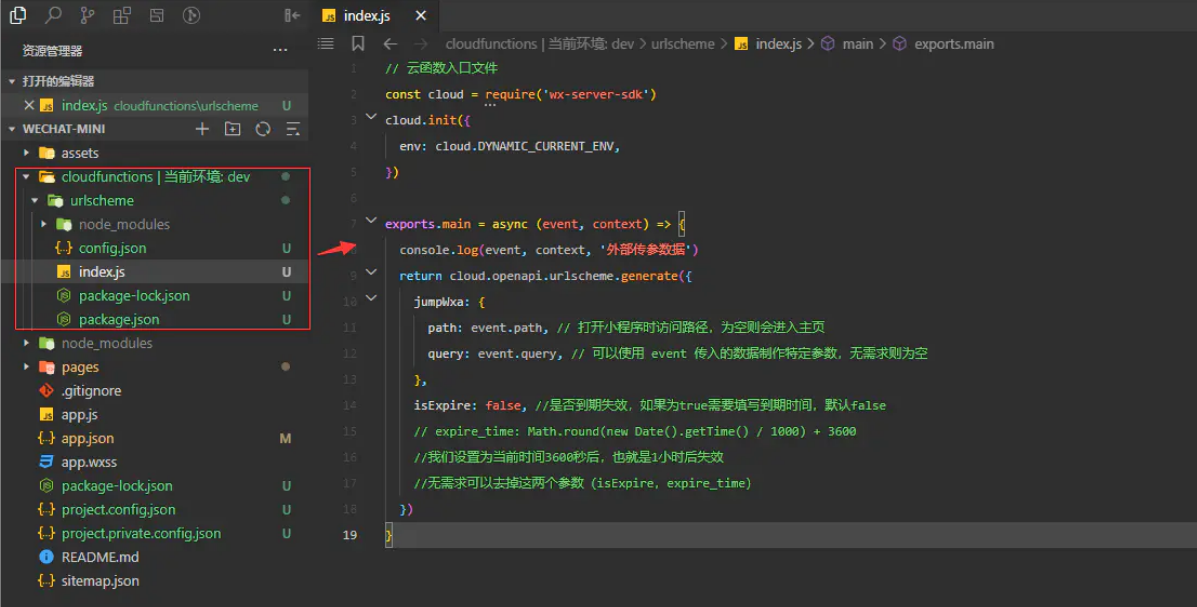
5、将以下代码替换写入index.js文件,这里例子参数为接收外部h5跳转的path路径和地址传参query:
// 云函数入口文件
const cloud = require('wx-server-sdk')
cloud.init({
env: cloud.DYNAMIC_CURRENT_ENV,
})
exports.main = async (event, context) => {
console.log(event, context, '外部传参数据')
return cloud.openapi.urlscheme.generate({
jumpWxa: {
path: event.path, // 打开小程序时访问路径,为空则会进入主页
query: event.query, // 可以使用 event 传入的数据制作特定参数,无需求则为空
},
isExpire: false, //是否到期失效,如果为true需要填写到期时间,默认false
// expire_time: Math.round(new Date().getTime() / 1000) + 3600
//我们设置为当前时间3600秒后,也就是1小时后失效
//无需求可以去掉这两个参数(isExpire,expire_time)
})
}
6、上传部署云函数:

7、点击‘云开发’按钮查看云函数部署情况,以及调试及配置之类的:

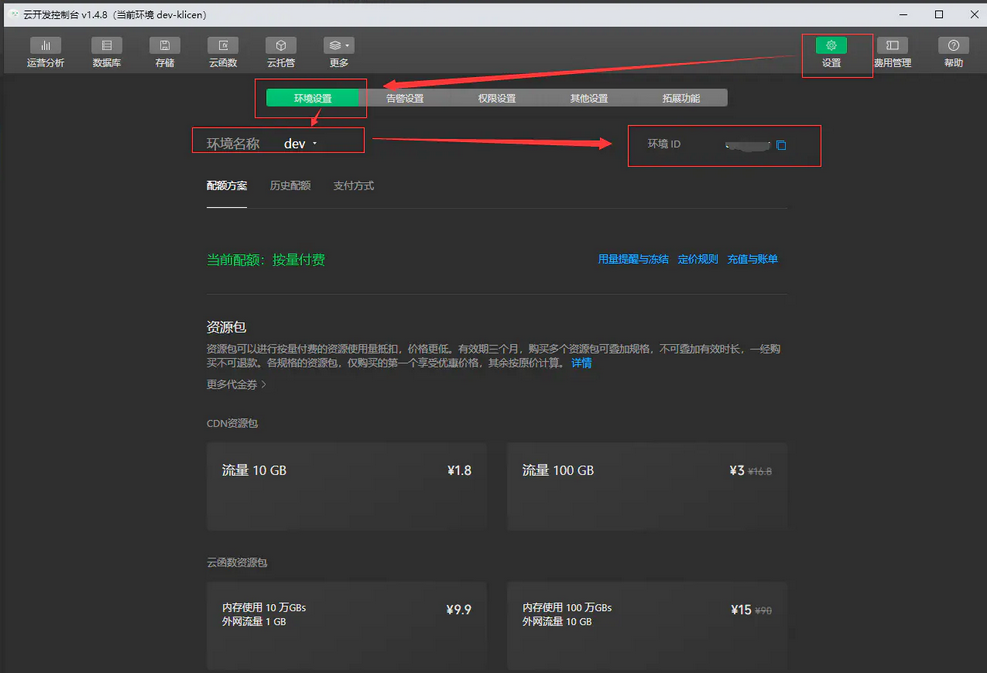
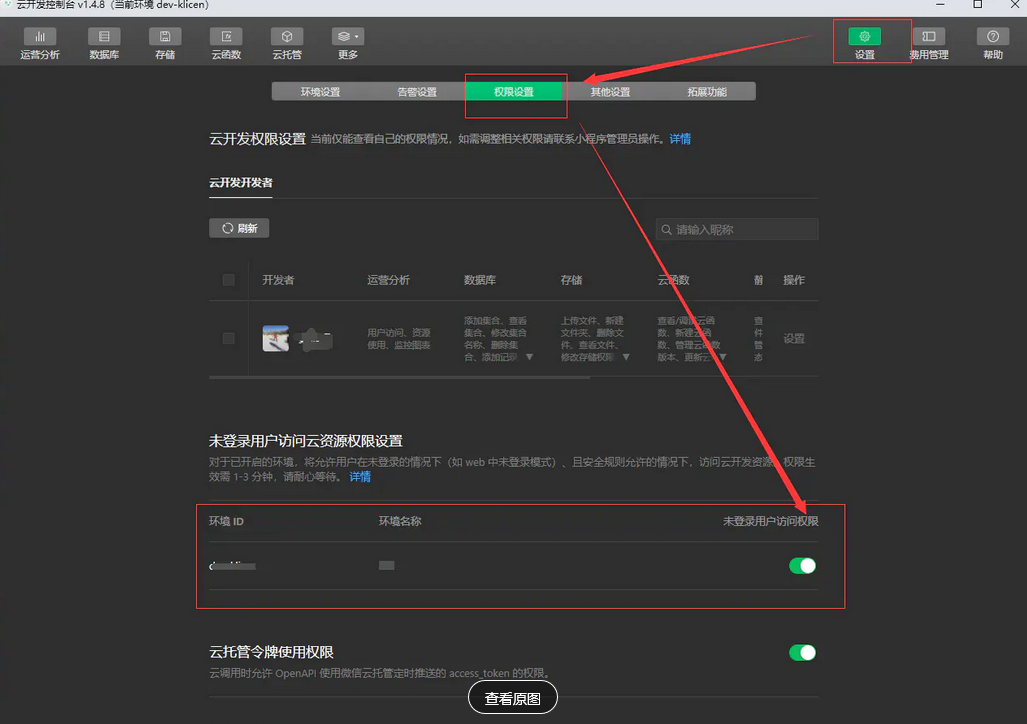
8、查看环境ID,以及一些权限修改:


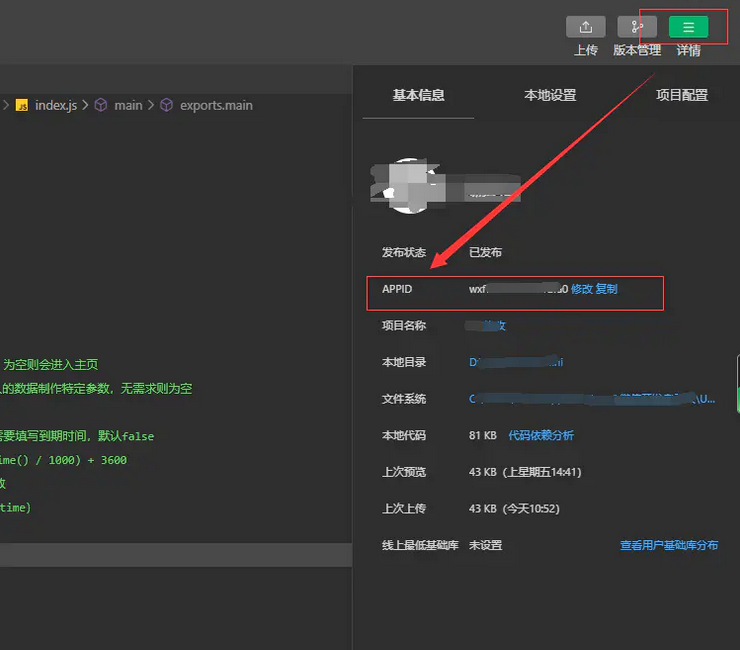
9、小程序appid,用于之后云函数调用参数之一:
h5页面:
1、 话不多说,直接上代码demo,此demo为单页面h5,框架内部只是sdk引入方式不同,其他基本上一样:
<!DOCTYPE html>
<html lang="en">

<head>
    <meta charset="UTF-8">
    <meta name="viewport" content="width=device-width, initial-scale=1.0">
    <title>测试h5拉起微信小程序</title>
    <style>
        .btn {
            position: absolute;
            top: 50%;
            left: 50%;
            transform: translate(-50%, -50%);
            width: 250px;
            height: 100px;
            line-height: 100px;
            text-align: center;
            color: #fff;
            font-size: 25px;
            text-decoration: none;
            cursor: pointer;
            background: linear-gradient(90deg, #03a9f4, #f441a5, #ffeb3b, #03a9f4);
            background-size: 400%;
            letter-spacing: 5px;
            border: none;
        }

        .btn:hover {
            animation: animate 8s linear infinite;
        }

        @keyframes animate {
            0% {
                background-position: 0%;
            }

            100% {
                background-position: 400%;
            }
        }

        .btn::before {
            content: '';
            position: absolute;
            top: -5px;
            left: -5px;
            right: -5px;
            bottom: -5px;
            z-index: -1;
            background: linear-gradient(90deg, #03a9f4, #f441a5, #ffeb3b, #03a9f4);
            background-size: 400%;
            border-radius: 40px;
            opacity: 0;
            transition: 0.5s;
        }

        .btn:hover::before {
            filter: blur(20px);
            opacity: 1;
            animation: animate 8s linear infinite;
        }
    </style>
</head>

<body>
    <button onclick="toWx()" class="btn">我要去小程序</button>
    <!-- 云开发 Web SDK -->
    <script src="https://res.wx.qq.com/open/js/cloudbase/1.1.0/cloud.js"></script>
    <script>
        async function toWx() {
            let cloud = new window.cloud.Cloud({
                identityless: true, // true表示是未登录模式
                resourceAppid: 'xxx', // 小程序AppID
                resourceEnv: 'xxx', // 云环境环境ID
            })
            await cloud.init(); // 云函数初始化
            const res = await cloud.callFunction({
                name: 'urlscheme', //提供UrlScheme服务的云函数名称
                data: {
                    path: '/pages/index/index', // 想跳转的小程序路径
                    query: 'token=xxx&host=xxx', // 地址栏query参数,可在微信  onLoad: function (options) {}生命周期里options接收这些参数
                } //向这个云函数中传入的自定义参数,注意:path地址前后/不能多加或者少加,query参数里不能有转义字符如果有需要解码
            });

            console.log(res, '云函数返回数据');
            if (res && res.result.errCode == 0) {
                location.href = res.result.openlink; // 跳转
            } else {
                console.log(res.errMsg);
            }
        }
    </script>
</body>

</html>
到 这里就大功告成了.
作者:热心程序猿黄帅哥
链接:https://www.jianshu.com/p/38209e3d5bc6